Raspbian には Lite版 と 通常版 があるのですが、必要ない物がゴチャゴチャ入っていると気持ち悪いので、Liteを使ってみました。
「通常版に何が入っていてLiteに何がないのか」を比較をしている人がいたので、リンクを貼っておきます。
http://sstea.blog.jp/raspi/raspbian_jessie.html
Raspbian の Lite を microSD に書き込んで、設定・インストールをして使えるようにしていきます。
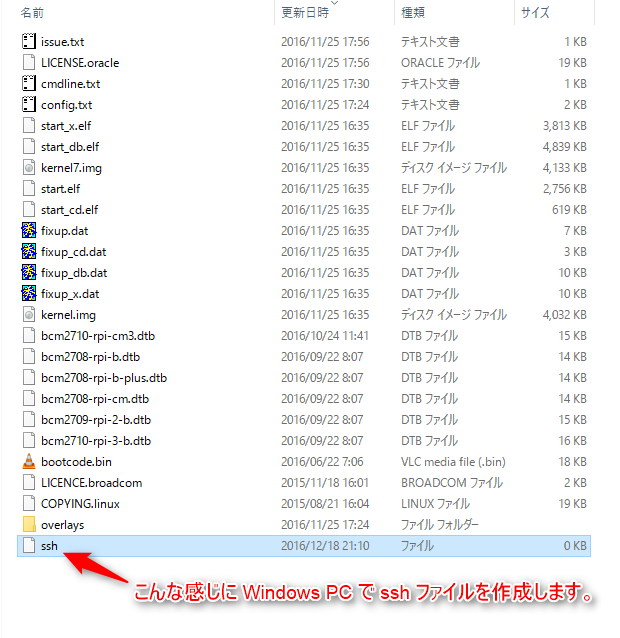
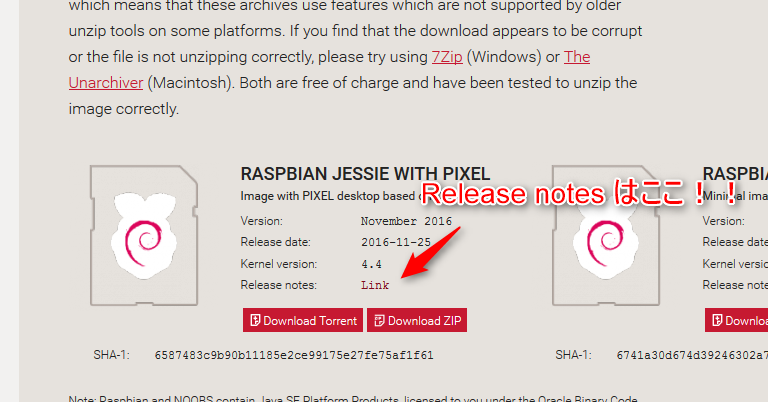
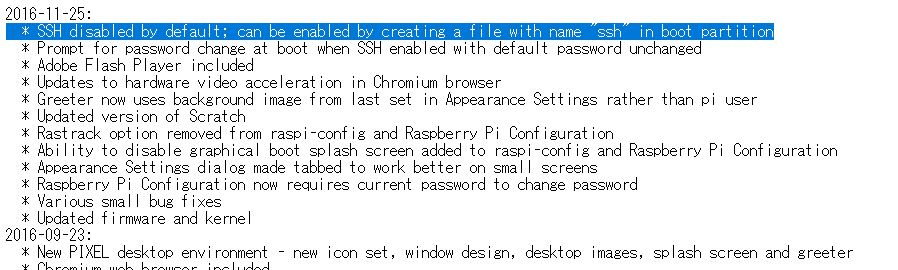
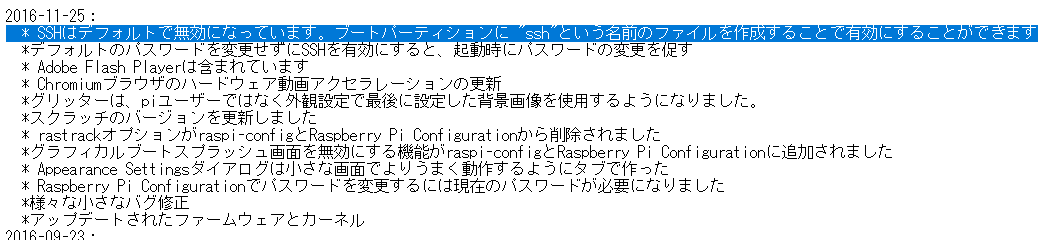
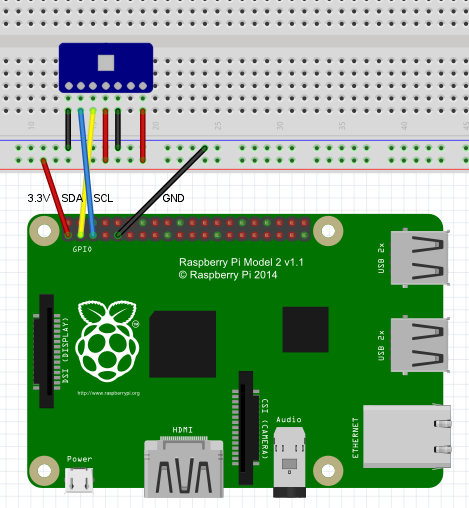
①ssh を有効にするため、boot パーティションに ssh ファイルの作成
②有線LANの環境がないので Wi-Fi 設定
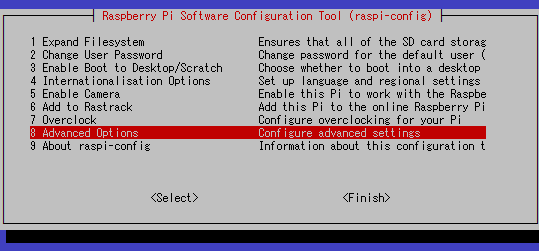
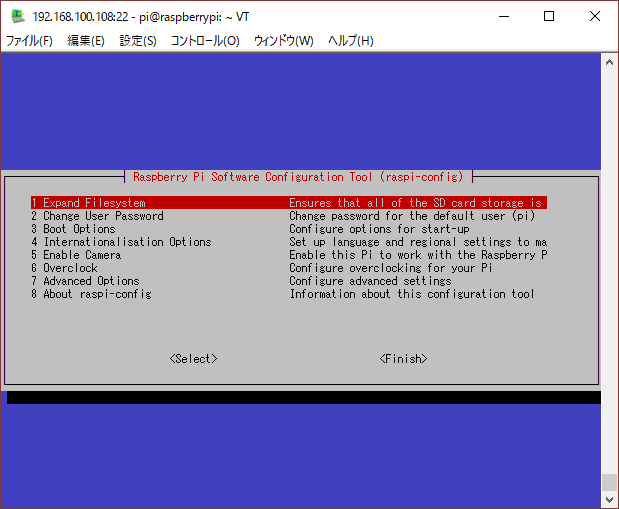
③raspi-conf で色々設定
1 Expand Filesystem
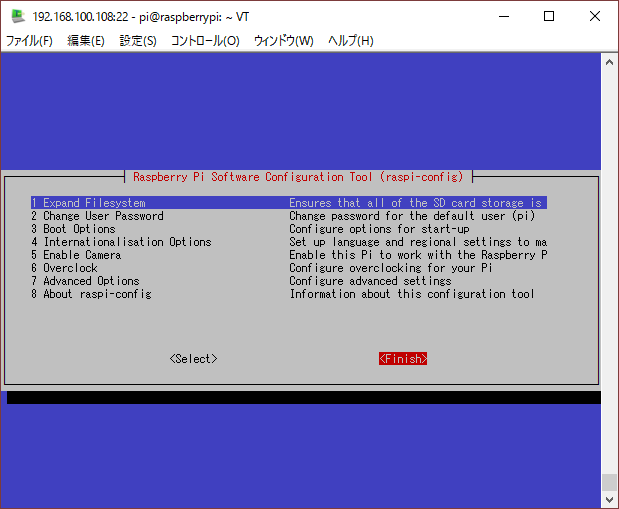
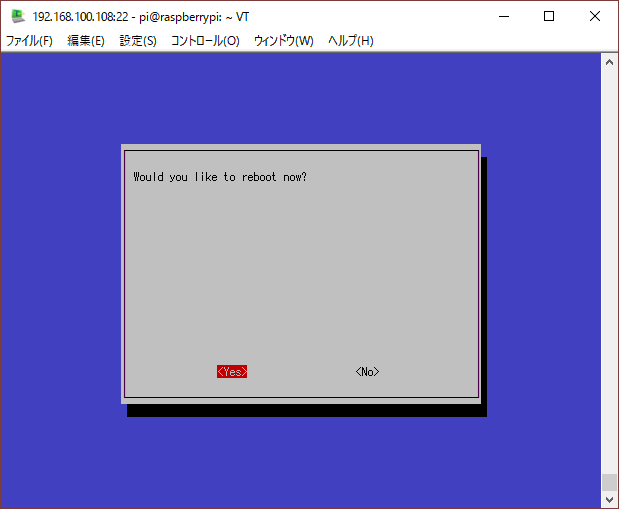
Finish で raspi-config を終わらせると再起動をするようにうながされます。

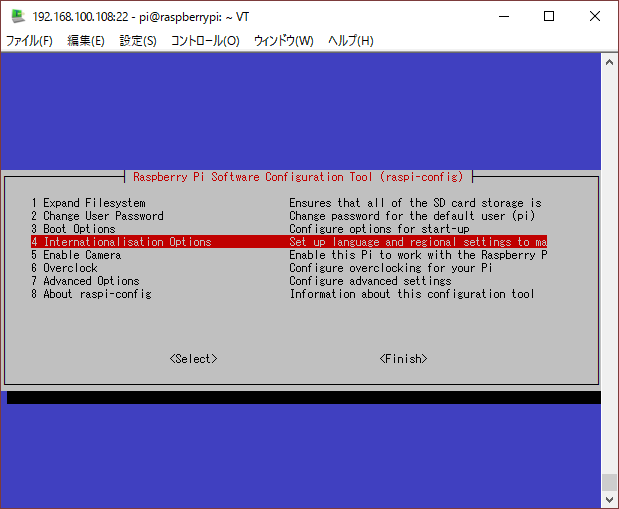
4 Internationalisation Options
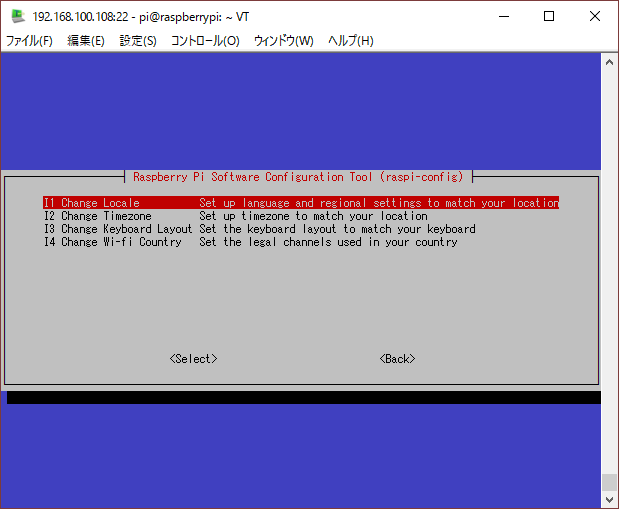
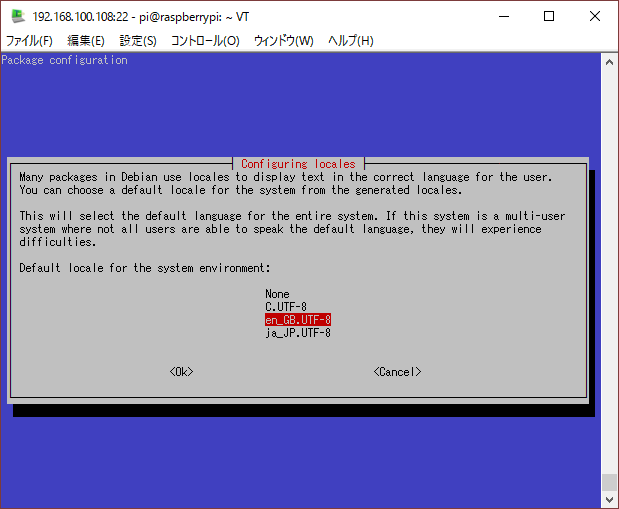
I1 Change Locale
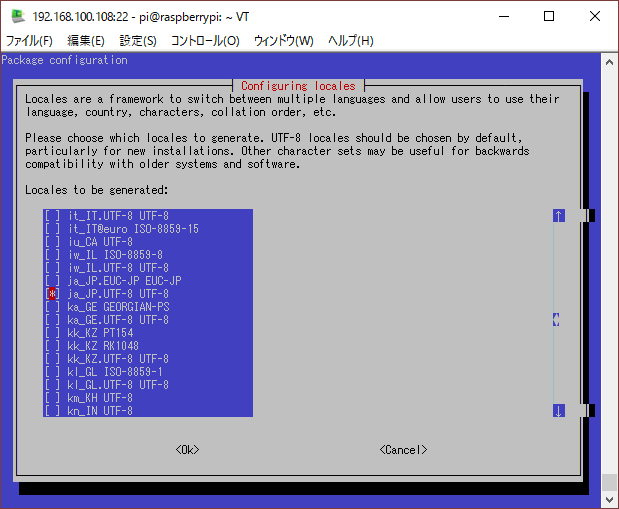
特に日本語化するつもりはなく、jp_JP.UTF-8 にすると文字化けするので en_GB.UTF-8 にしておきます。
4 Internationalisation Options
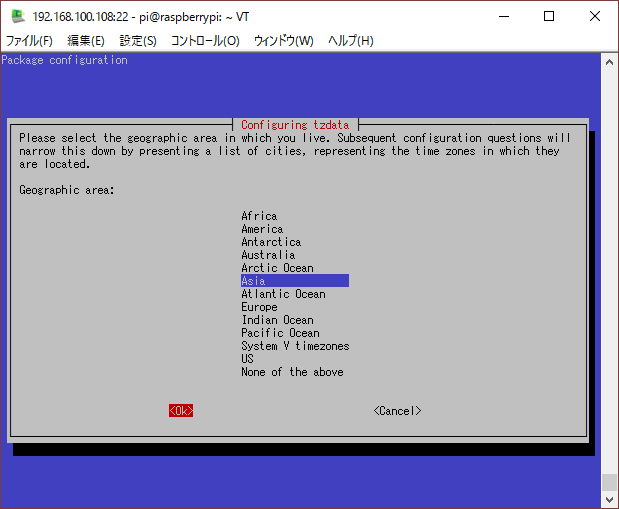
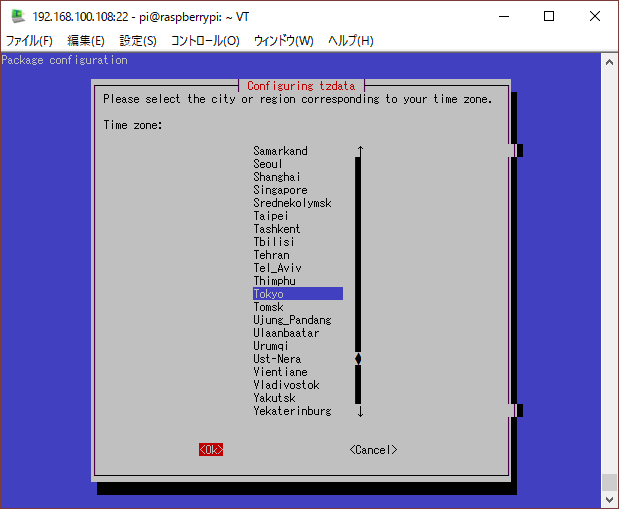
I2 Change Timezone
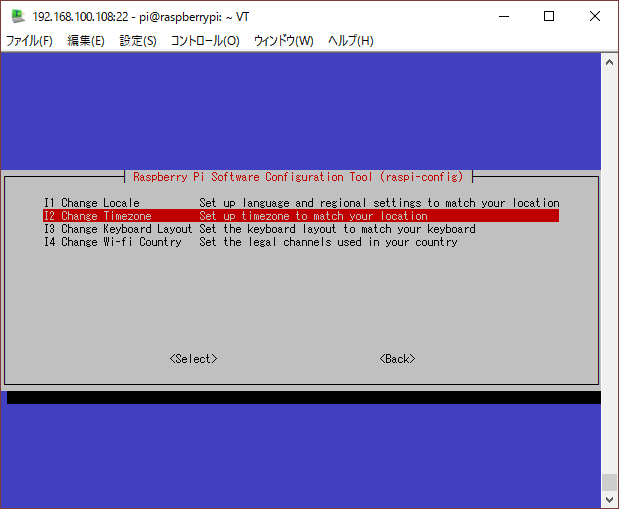
4 Internationalisation Options
I3 Change Keeyboard Layout

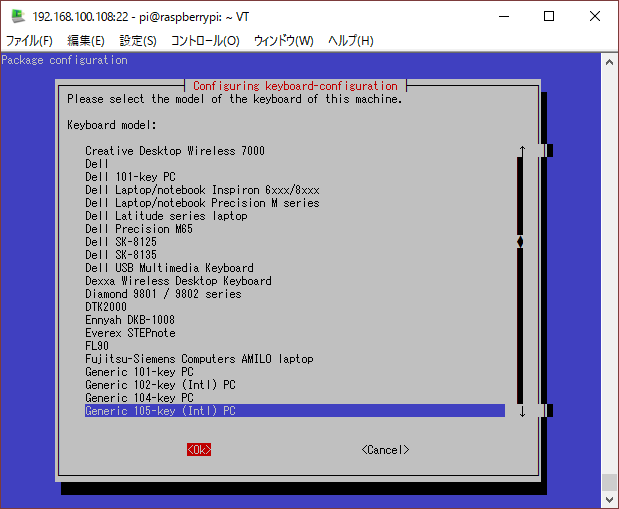
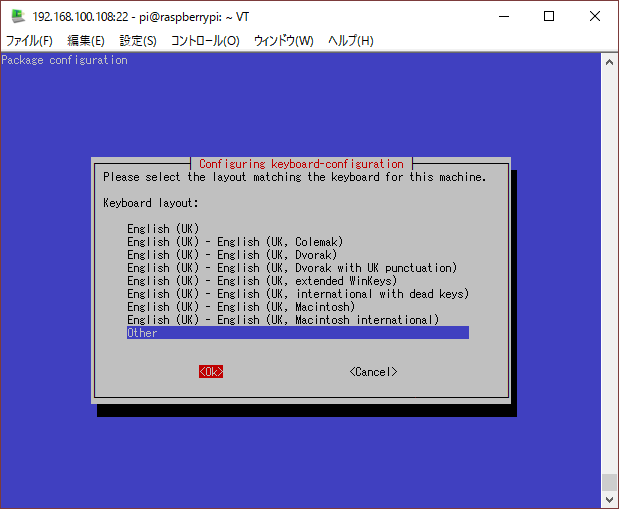


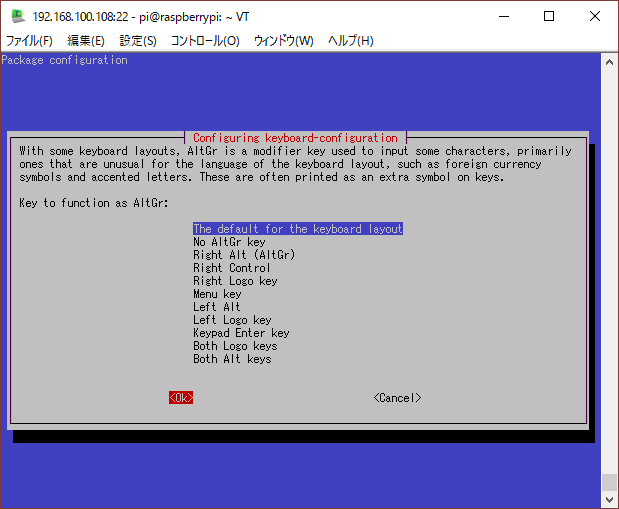
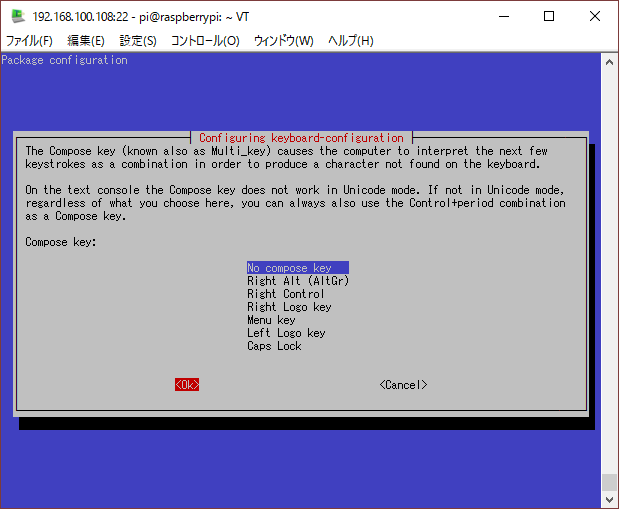
4 Internationalisation Options
I4 Change Wi-Fi Countory
国によって使えるWi-Fiのチャンネルが違うため設定するそうです。
日本は全チャンネル使えるそうですが、国によっては使えないそうなので日本にしておきます。


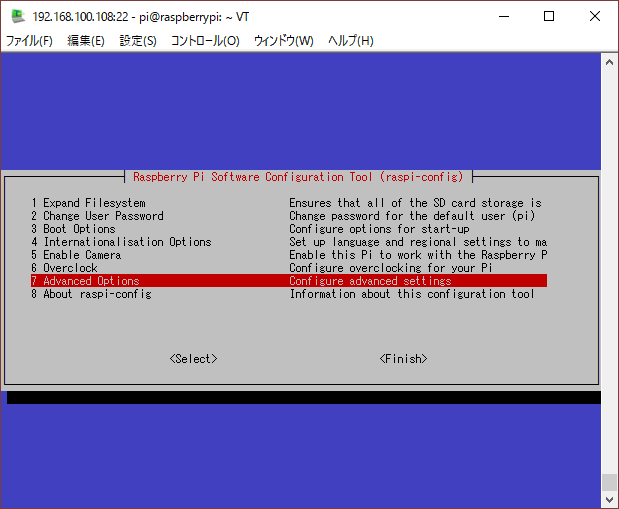
7 Advanced Options
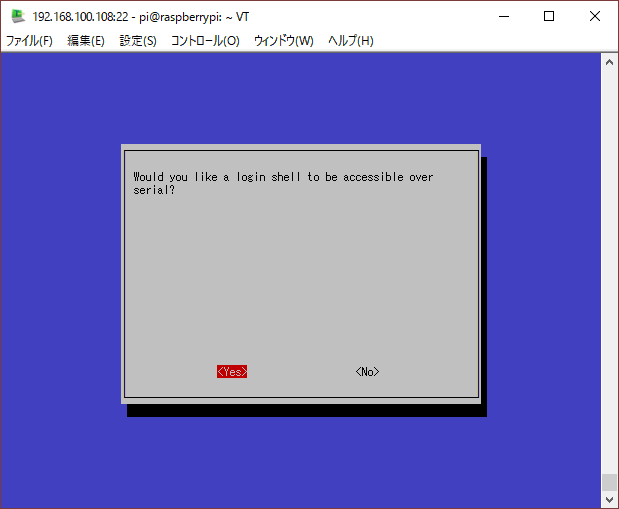
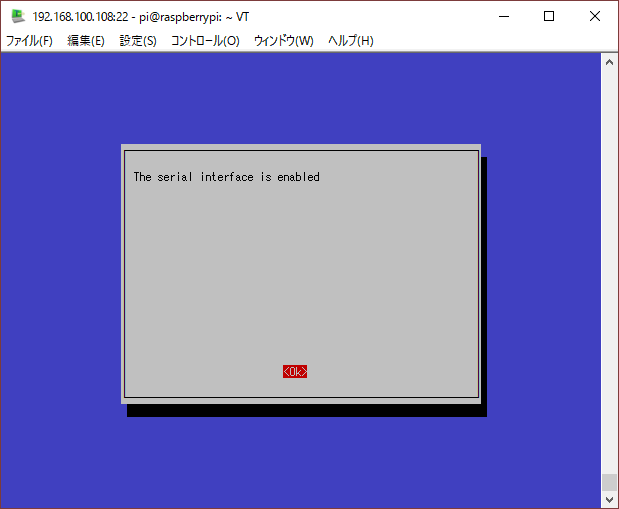
A8 Serial
GPIO のシリアルは何かあったとき使いたいので有効にしておきます。

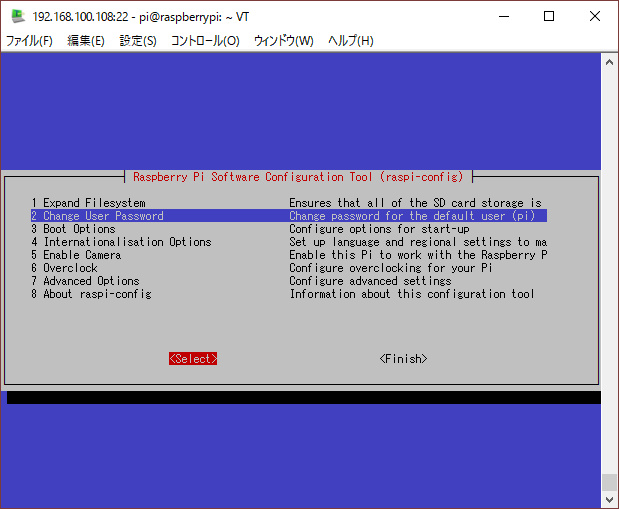
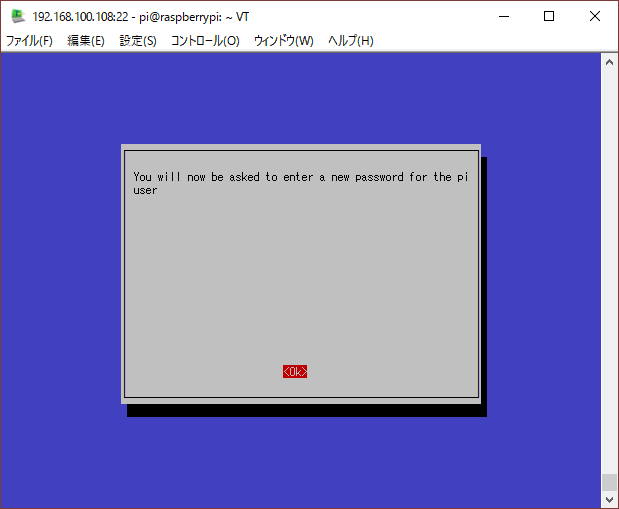
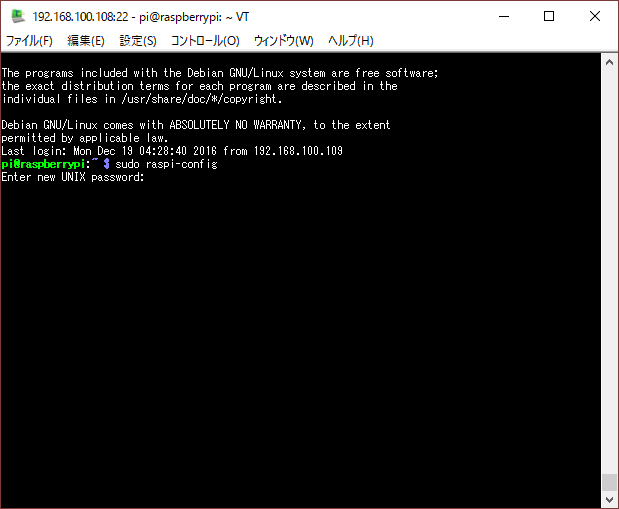
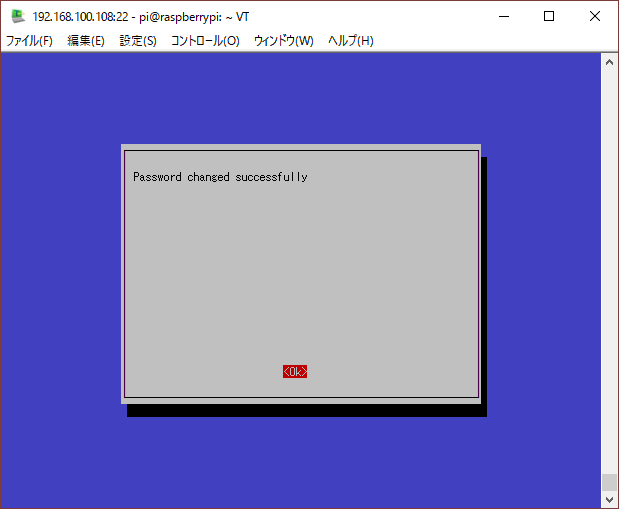
2 Change User Password
Change User Password で Pi のパスワードを変更しておきます。

ファイアウォール設定ソフト UFW ( Uncomplicated FireWall ) を入れる
pi@raspberrypi:~ $ sudo apt-get install -y ufw
sudo ufw status でインストール直後の状態をみると Status: inactive と表示されファイアウォールが無効な状態になっているのでデフォルトは拒否する設定にして、SSHの穴をあけて、ファイアウォールを有効な状態にします。
デフォルトの動作を拒否にする
pi@raspberrypi:~ $ sudo ufw default deny
Default incoming policy changed to ‘deny’
(be sure to update your rules accordingly)
SSHを許可設定
pi@raspberrypi:~ $ sudo ufw allow ssh
Rules updated
Rules updated (v6)
ファイアウォールを有効にする
pi@raspberrypi:~ $ sudo ufw enable
Command may disrupt existing ssh connections. Proceed with operation (y|n)? y
Firewall is active and enabled on system startup
設定内容を確認
pi@raspberrypi:~ $ sudo ufw status
Status: active
To Action From
— —— —-
22 ALLOW Anywhere
22 ALLOW Anywhere (v6)
テキストエディタ Vim を入れる
sudo apt-get install -y vim
これで下準備は整ったかと。